Arduino UNO
Starter Kit Tutorials
Small Components. Big First Steps.
We walk through the ZEK-28 Arduino UNO starter kit from the first USB-C upload to each sensor and output on the breadboard — including soil moisture. Every lesson is written for absolute beginners: short steps, friendly language, and a clear finish line.
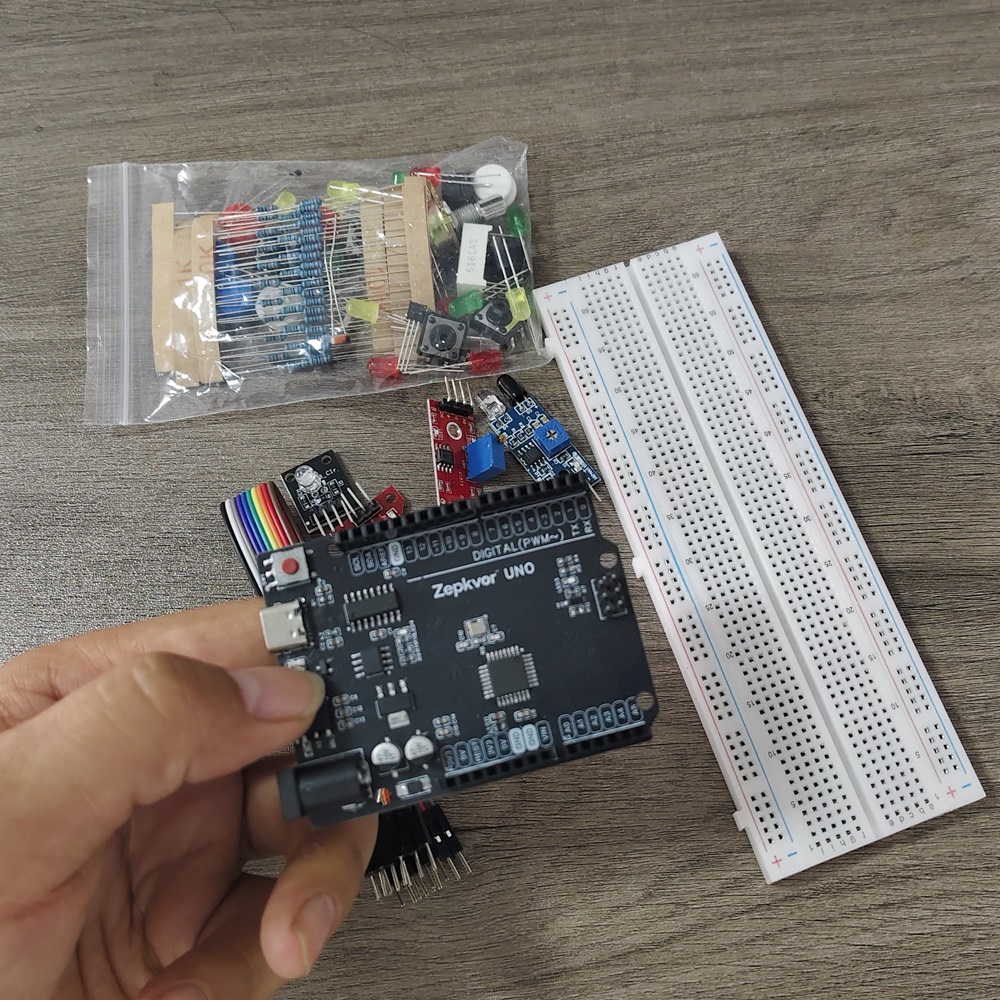
One Kit.
A New Way To Learn.
Start with the USB connection and a first upload on the Arduino UNO, then bring components together on the breadboard. This course follows a practical progression from simple circuits to sensors — including soil moisture — and a water-leak alarm mini project.
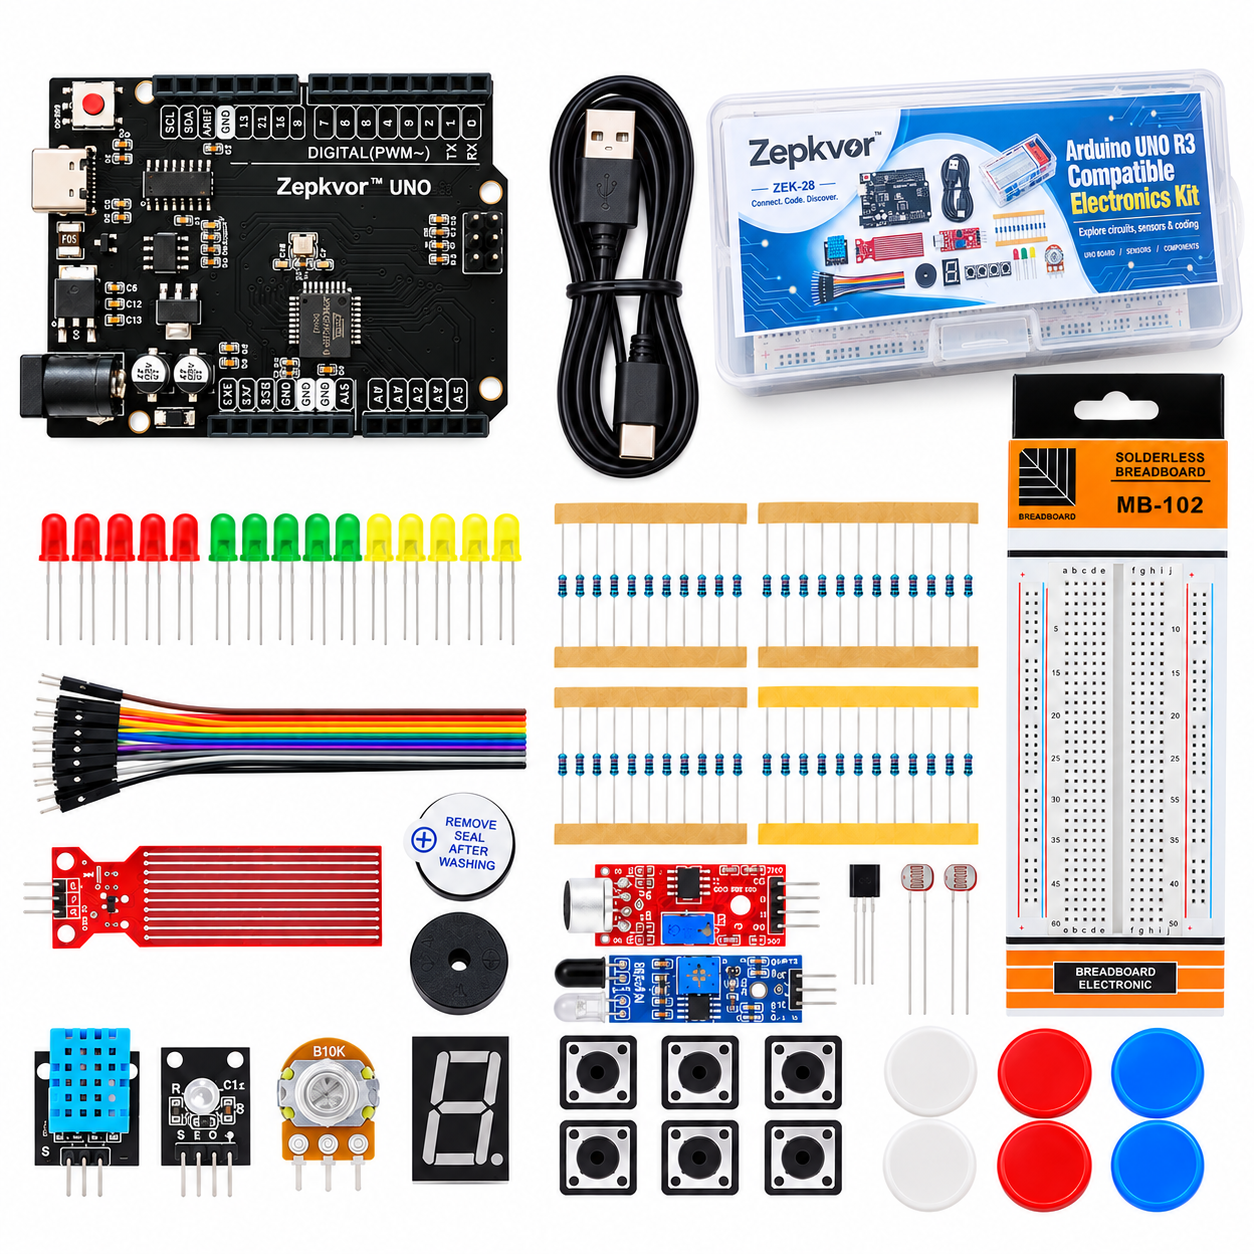
| In The Box (from product photos) | Notes |
|---|---|
| Zepkvor™ UNO board (ZEK-27) | ATmega328P · USB-C · DC jack · Reset · CH340 path |
| USB-A to USB-C cable | Must transfer data for uploads |
| MB-102 breadboard (830 hole) | White solderless board |
| DuPont jumper wires | Male–male bundle |
| Soil moisture sensor | Probe + module — ZEK-28 highlight |
| Water / rain level sensor | Red PCB with parallel copper traces |
| Sound sensor module | Mic + blue sensitivity pot |
| IR obstacle module | Emitter/receiver + pot |
| DHT11 temperature & humidity | Blue grille housing |
| RGB LED module | Small black board |
| 10K potentiometer | Knob / trimpot style |
| Single-digit 7-segment display | Common cathode/anode 待确认 |
| Active + passive buzzers | Identify before use — 待确认 markings |
| LDR / LEDs / resistors / buttons | Assorted — resistor values 待确认 |
| Clear storage case | From product photos |
Exact bag counts and some part variants are 待确认 on your kit.
Watch The Kit Overview
See the ZEK-28 Arduino Compatible Electronics Base Kit before you open Experiment 01. Then follow the written lessons for IDE setup and each build.
Choose Your Next Step.
Four focused modules and fourteen planned experiments. Start with Experiment 01. Lesson cards link to draft page slugs — pages stay Draft until Tim publishes them.
01
Get Started
Connect the UNO, install software, and blink your first LED.
2 Experiments
待补实验实物图E01|请拍主板 USB-C 插入电脑、电源灯亮起及设备管理器/端口列表。
Experiment 01Set Up Arduino IDE for Your UNO BoardInstall Arduino IDE, select Arduino UNO, check the USB-C CH340 path, and upload a first serial test.Arduino IDE · Arduino UNO · CH340 · Serial MonitorOpen Draft Outline
待补实验实物图E02|请拍面包板上 LED+电阻+杜邦线接 UNO 的俯拍,极性与引脚清晰。
Experiment 02Blink Your First LED on the BreadboardWire one LED with a series resistor on the MB-102 breadboard and blink it from the UNO.Breadboard · LED polarity · Series resistor · BlinkOpen Draft Outline
02
Outputs & Inputs
Buttons, knobs, RGB, display, buzzer, and a night light.
6 Experiments
待补实验实物图E03|请拍按键与 LED 完整接线,标注 D7/D8 与 GND。
Experiment 03Read a Push Button and Control an LEDRead a tactile button and use it to control an LED on the breadboard.Digital input · INPUT_PULLUP · Button debounce basicsOpen Draft Outline
待补实验实物图E04|请拍电位器与 LED 接线特写,三脚位置清晰。
Experiment 04Control LED Brightness with a PotentiometerUse the 10K potentiometer to dim an LED with analogRead and PWM.Potentiometer · AnalogRead · PWM brightnessOpen Draft Outline
待补实验实物图E05|请拍 RGB 模块接线与混色效果,丝印脚位清晰。
Experiment 05Mix Colors with an RGB LEDWire the RGB LED module and fade through soft mixed colors.RGB pins · Common anode/cathode 待确认 · Color fadeOpen Draft Outline
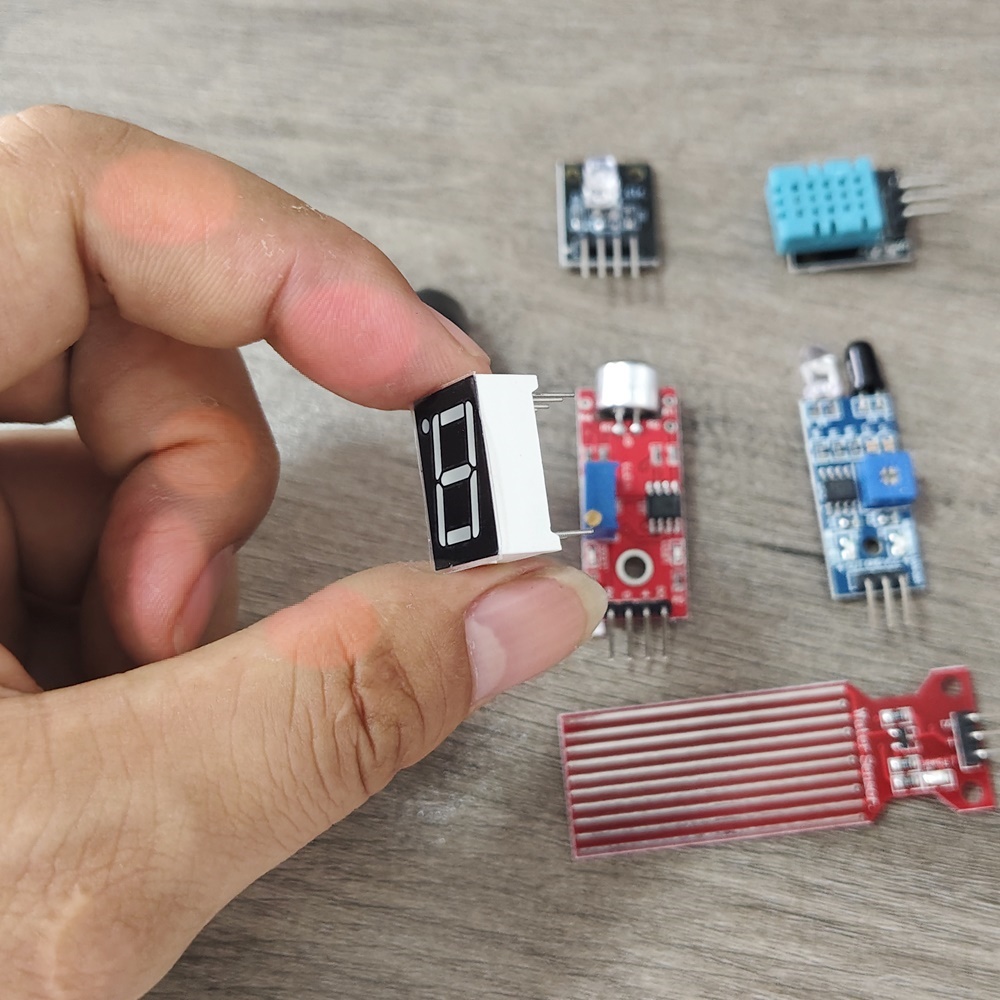
Experiment 06Show Digits on a 7-Segment DisplayMap segments to GPIO and count digits 0–9 on the single-digit display.7-segment · Common cathode/anode 待确认 · Digit patternsOpen Draft Outline
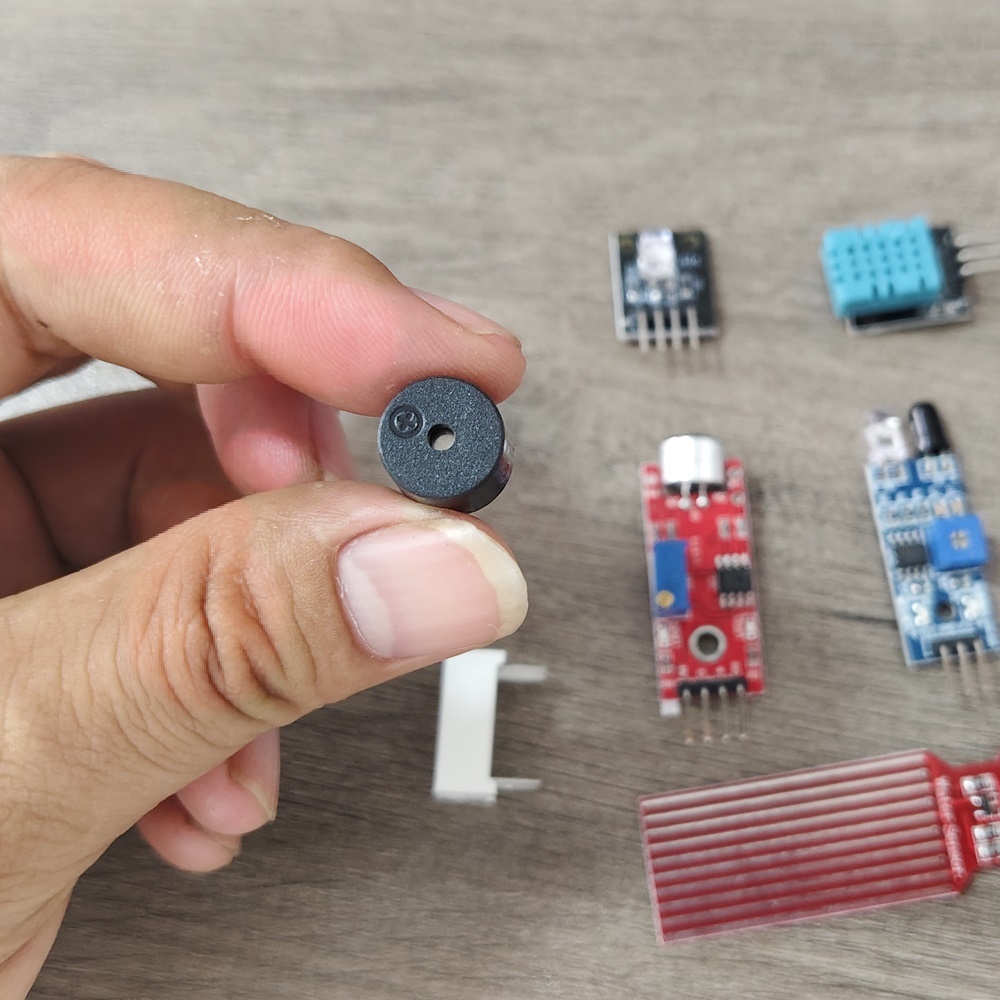
Experiment 07Make Beeps with Active and Passive BuzzersIdentify active vs passive buzzer and make beeps or simple tones.Active/passive 待确认 · Beep · ToneOpen Draft Outline
待补实验实物图E08|请拍 LDR 与 LED 夜灯接线。
Experiment 08Build a Night Light with an LDRRead a photoresistor (LDR) and turn an LED into a simple night light.LDR · Voltage divider · Threshold night lightOpen Draft Outline
03
Sensors
Sound, water, soil moisture, IR obstacle, and DHT11.
5 Experiments
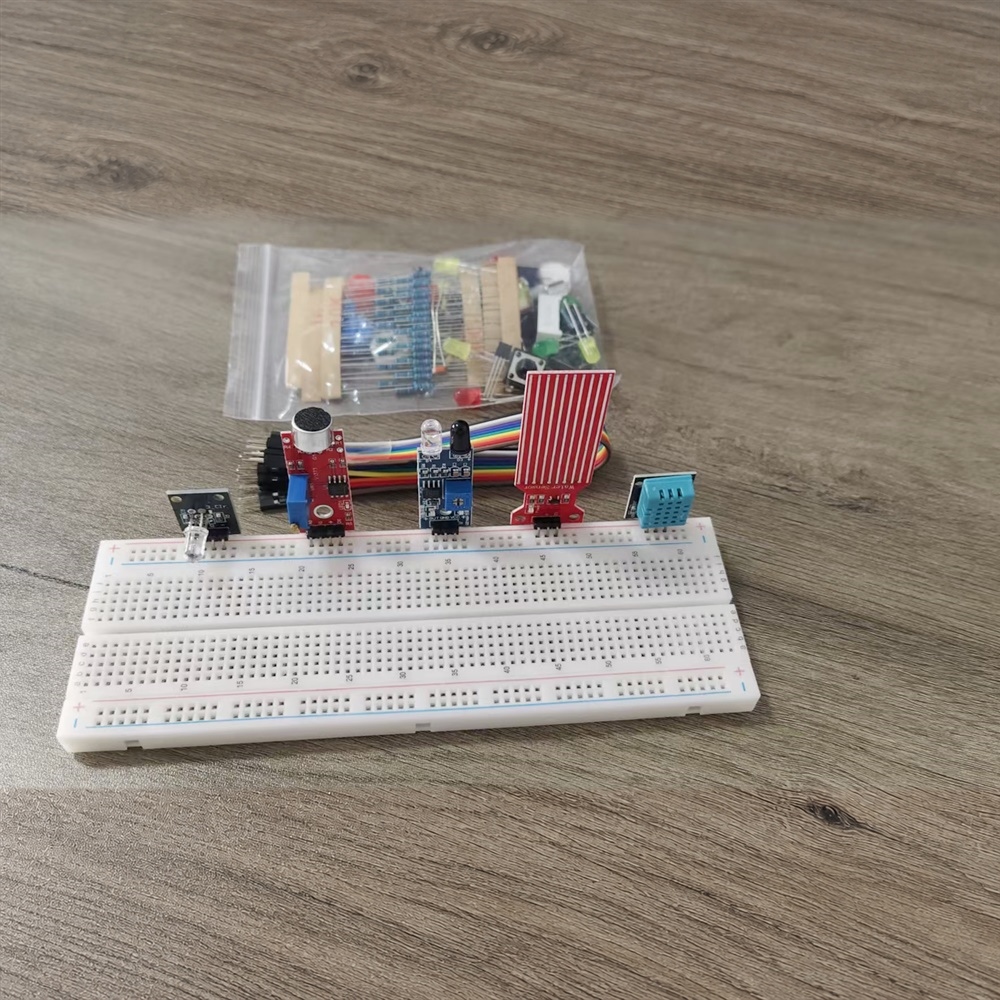
Experiment 09Trigger Actions with a Sound SensorUse the sound sensor module to trigger an LED when it hears a clap or tap.Sound module · DO/AO · Sensitivity potOpen Draft Outline
待补实验实物图E10|请拍水位板接线;演示仅用少量清水,注意安全。
Experiment 10Detect Water Level with the Water SensorRead the water/rain level board safely and tell dry from wet in Serial Monitor.Rain/water board · Safety · Analog readOpen Draft Outline
待补实验实物图E11|请拍土壤湿度探针插入花盆或湿海绵演示。
Experiment 11Read Soil Moisture for a PlantRead the soil moisture probe — a ZEK-28 kit highlight — and classify dry vs moist.Soil moisture · Analog read · Plant demoOpen Draft Outline
待补实验实物图E12|请拍红外避障模块接线与障碍物检测演示。
Experiment 12Sense Obstacles with the IR ModuleDetect nearby obstacles with the IR module and react in code.IR obstacle · Threshold pot · Digital outputOpen Draft Outline
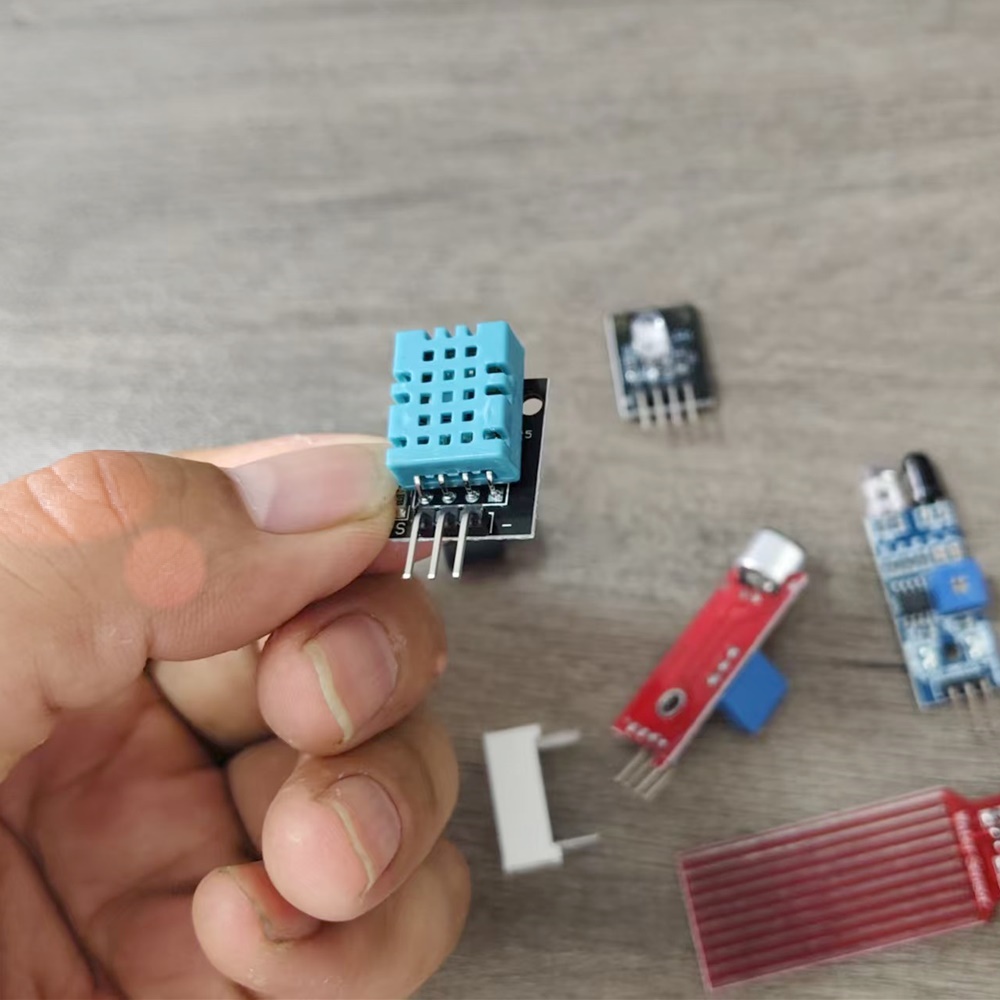
Experiment 13Read Temperature & Humidity with DHT11Install a DHT library and print temperature and humidity to Serial Monitor.DHT11 · Library · Serial readingsOpen Draft Outline
04
Mini Project
Put parts together in a water-leak alarm.
1 Experiment
A Little Preparation.
A Smoother First Build.
Keep your kit nearby and give yourself space to experiment.
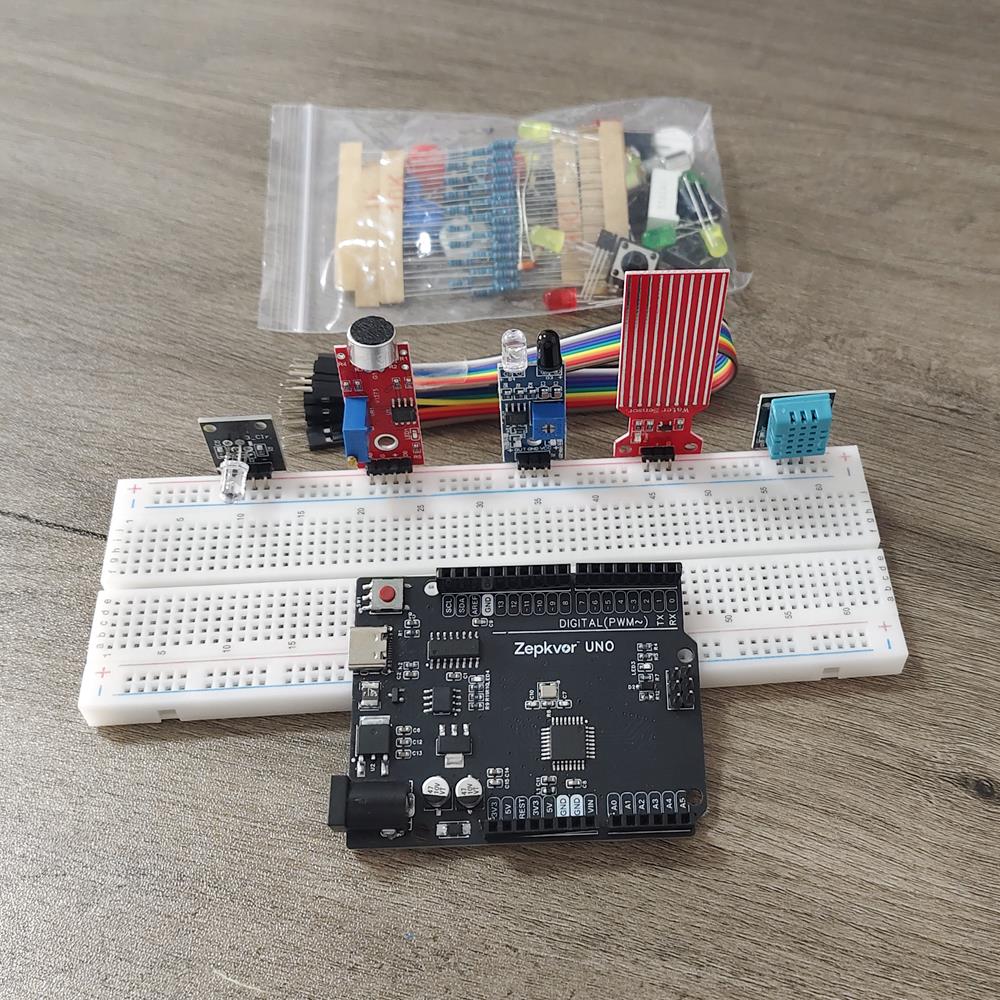
Your ZEK-28 Kit
Check the parts against the kit list and identify your USB-C Arduino UNO (Zepkvor™ UNO). Meet the ZEK-27 UNO board on YouTube ↗
A Computer & USB-C Data Cable
Use a compatible computer and a cable that can transfer data (not charge-only).
A Clear, Unpowered Workspace
Unplug USB before changing wires. Work with low-voltage kit parts only.
CH340 Driver Ready When Needed
This kit uses a CH340 USB-to-serial path (exact marking 待确认). E01 walks through the check.
See The Wiring.
Understand The Result.
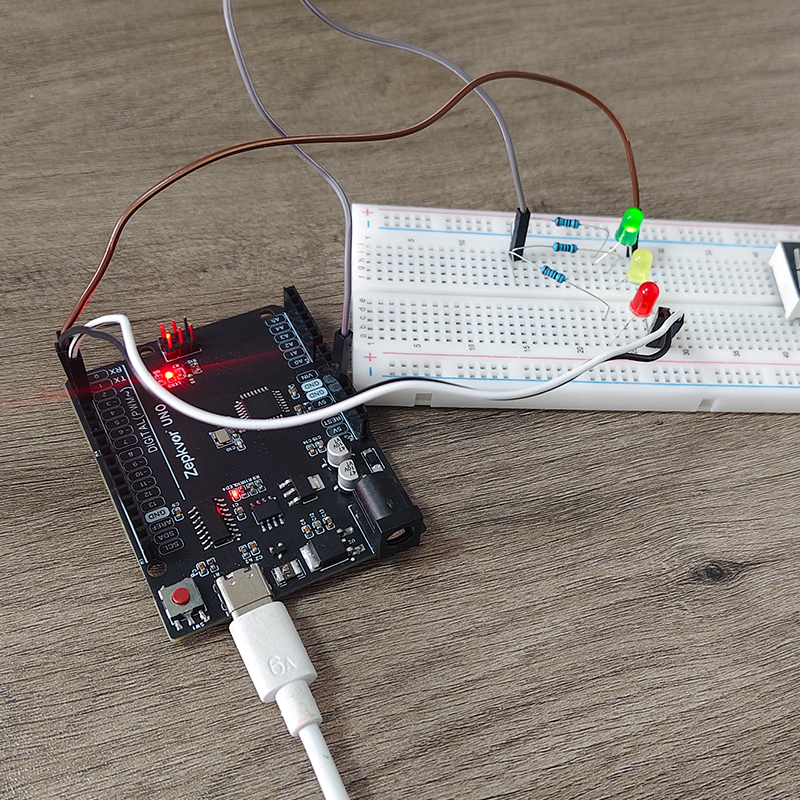
Each lesson is planned around a parts list, clear wiring photos, explained code, expected results, and a practical checkpoint.
- Step-by-step connections
- Code with explanations
- Checks when something goes wrong
A Question Is A Good Place To Start.
Check the troubleshooting section in your lesson, or get in touch with Zepkvor. Prefer watching first? Jump to the ZEK-28 kit overview video, or open it on YouTube ↗.